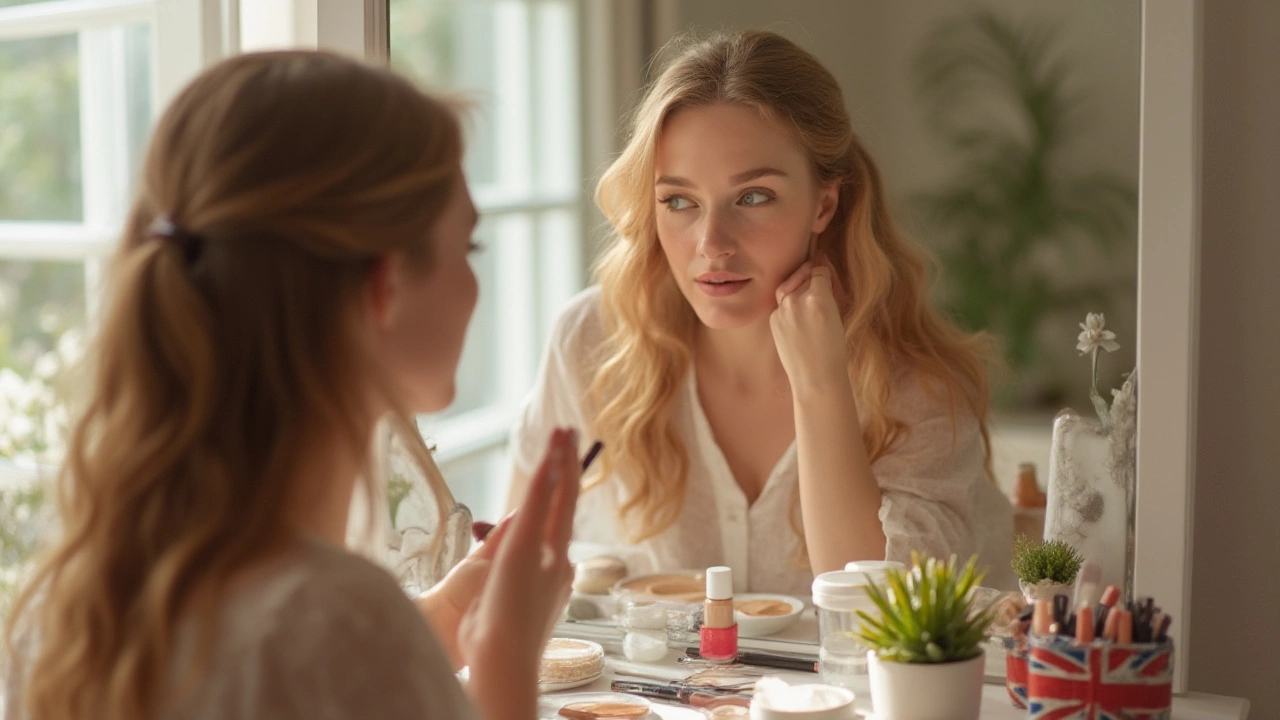
Does the idea of doing makeup make your hands shake and your brain go fuzzy? You’re not alone. The thing is, makeup isn’t about hiding who you are—it’s about feeling comfortable in your own skin and maybe adding a bit of color where you want it. Auckland streets are packed with people showing off everything from the no-makeup makeup look to full-blown neon eyeshadow masterpieces. But when it comes down to it, mastering basic makeup opens the door to whatever look you want: polished for work, glowing for brunch, or just fresh and tidy for running a few errands. Here’s the not-so-secret blueprint for getting the basics right—without a makeup artist or a mountain of products.
Building Your Makeup Toolkit: Essentials for Beginners
Too many tutorials leave you spinning with product overload. What do you need for basic makeup? Not a suitcase, that’s for sure. Start with these core tools and products:
- Basic makeup brushes: At minimum, a fluffy powder brush, a blush brush, and an eyeshadow brush go a long way.
- Sponge or beauty blender: Blends foundation for a natural finish.
- Foundation or BB cream: Choose the formula and coverage that works for your skin.”
- Concealer: Hides spots and under-eye circles.
- Translucent powder: Takes down shine and sets your work so nothing melts by lunchtime.
- Blush and/or bronzer: Adds healthy color and shape back to your face.
- Brow pencil or powder: Fills in sparse spots and defines your brows.
- Mascara: Instantly wakes up tired eyes.
- Lip balm, tint, or lipstick: Your lips, but happier.
Prepping Your Face: The Secret Behind Long-lasting Makeup
If you’ve ever wondered why makeup looks flawless on some but cakes up on others, it’s almost always about what happens before the foundation goes on. Starting with clean, moisturized skin is a total game-changer. Use a gentle cleanser suited to your skin type—don’t skip this step, no matter how sleepy you are in the morning. Next, a lightweight moisturizer helps makeup glide on more evenly and keeps dry patches from ruining the finish. If you deal with oily skin or your makeup slides off before lunch, invest in a basic mattifying primer. This creates a grippy surface so your foundation hangs on all day. Auckland’s humidity can mess with your makeup, so primers really do pay off. Did you know: a quick study by a Kiwi skincare brand in 2023 found that using primer increased makeup longevity by up to 45% for most people? If you want your makeup to really stay put, this tiny extra step is worth it. Now, give your skin a few minutes to absorb the moisturizer and primer before you move on. Rushing can make everything pill and settle weirdly.
Creating a Flawless Base: Foundation and Concealer Demystified
This part can sound intimidating—so many colors and formulas. But it’s simpler than it seems. Match your foundation to your jawline, not your wrist or neck; your face sees the sun while your body might not. If you can, test a couple of shades in natural daylight (store lighting will trick you every time). Liquid foundation is great for most skin types and easy to blend, especially with a damp sponge. Dab foundation onto your cheeks, forehead, chin, and nose, then bounce the sponge gently over your skin to blend. Cream and stick foundations work, too—they just need a little extra blending.
For everyday, BB cream or a lightweight tinted moisturizer is a good bet. They even out the skin without feeling heavy. Most Aucklanders I meet prefer these for day-to-day, especially if they commute or have active jobs. Once your foundation is even and set, go in with concealer. Focus on the under-eye area (right in that dark shadowy corner), around your nose if you get redness, and any blemishes. Use the tip of your ring finger for delicate blending; it’s softer than other fingers, so you won’t tug.
Powder is your friend if you get shiny throughout the day. Use a fluffy brush to sweep translucent powder across your T-zone (forehead, nose, and chin). Don’t cake it everywhere—just where you really need it. If your skin is dry, powder lightly or you might look chalky. Done right, your base should look like skin, only a little smoother and even-toned.
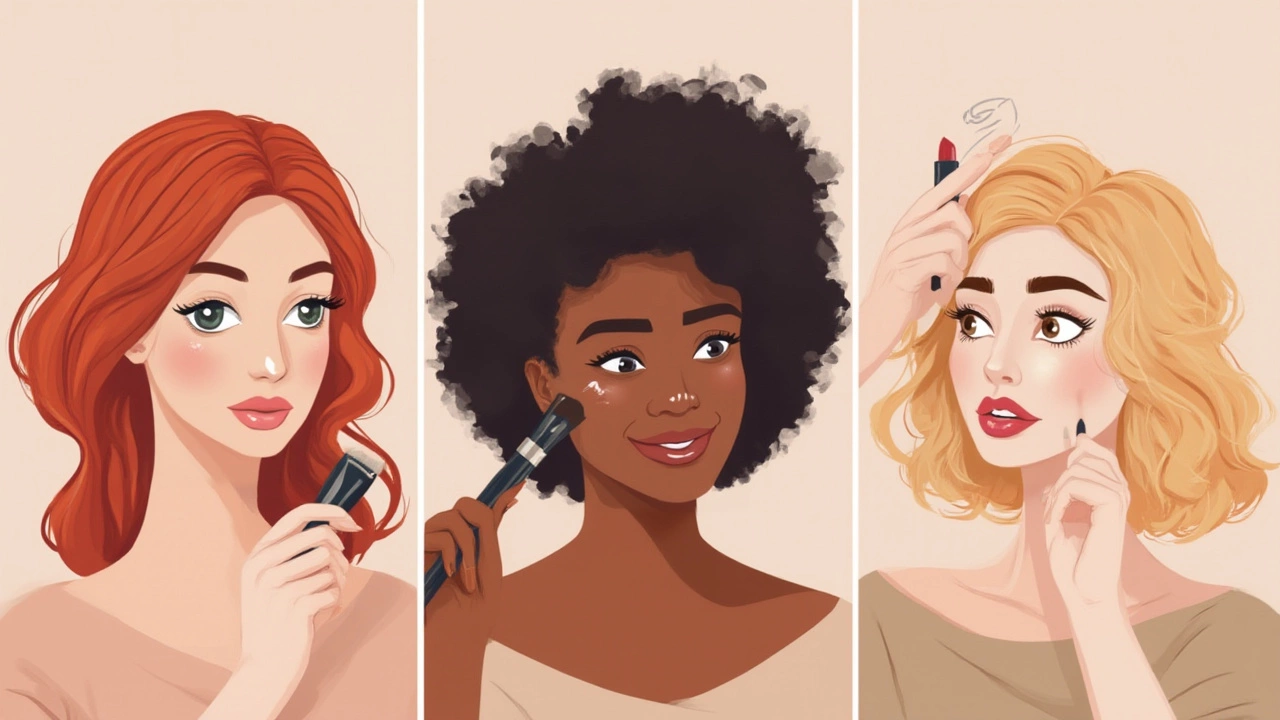
Adding Shape and Color: Blush, Bronzer, and Highlighter Basics
You know that healthy flush you get after a walk on a brisk day? Blush is your shortcut to that glow. Pick a soft peach or rosy pink—whatever looks like your natural flush when you pinch your cheeks. Smile and dab blush onto the apples of your cheeks, then blend upward toward your temples. Powder blush suits oily or combo skin. If you’ve got dry skin, cream blush melts in more naturally—just blend with your fingers.
Here’s a tip: Bronzer isn’t just for looking tan. It adds warmth and helps give your face some natural-looking shape. Sweep bronzer under your cheekbones, along your jawline, and at your temples. Use a light hand—think ‘kiss of sun’ rather than ‘fake bake disaster.’ For an extra bit of glow, a touch of highlighter on the tops of your cheekbones, down your nose, and at your cupid’s bow lifts your features. A lot of first-timers skip highlighter for fear of looking glittery, but these days, formulas are so finely milled you can barely detect them except for a subtle sheen. If you’re not sure about your color choices, check counters in Auckland’s department stores—they’re always happy to help shade match or let you try before buying.
If you want to see at a glance which steps people actually use day to day, here’s a recent survey from June 2025, taken by 500 Kiwi women ages 18-35:
| Product | Used Daily (%) |
|---|---|
| Concealer | 62% |
| Blush | 57% |
| Bronzer | 34% |
| Highlighter | 16% |
Simple Eyes and Lips: Perfecting the Final Touches
Time to wake up your face and pull it all together. Start with your brows, because they frame your face and instantly make you look more polished. Lightly fill in gaps with a brow pencil or brow powder, following your natural shape. If you make a mistake, brush through with a spoolie to blend things out. Don’t try to make them identical twins—think of them as sisters.
Then, sweep a nude or champagne eyeshadow over your entire lid; this hides veins and brightens your eyes. Want a bit of definition? A soft brown shade in the crease mimics a shadow and gives your eyes some dimension. You don’t need cat-eye skills for every day. When it comes to mascara, wiggle the wand at the base of your lashes and sweep upward—no need for fancy moves. Two coats are enough for most people. Try waterproof formulas if you have straight lashes or live in a rainy spot (yup, Auckland weather strikes again).
Lips are the easiest part. Dab on lip balm first to smooth any dry patches. For color, a tinted balm gives you a natural look without fussing over perfect edges. Lipsticks and glosses can bump up the look as much or as little as you want. If you’re new to makeup, start with soft pinks or peachy tints—they fade gracefully and are forgiving. Fun fact: in an Auckland drugstore poll in late 2024, more than 70% of people said they wore the same lip color every day for at least two months. That’s commitment.
Pop everything into your bag for easy touch-ups throughout the day, but trust me—a little goes a long way. You don’t need a full routine change at 3 pm; sometimes one swipe of powder or lipstick is enough.